Written guide
Second Layer: Insert the Middle Edges
With the first layer done, the middle ring still has four edge pieces to place. None of them has yellow. You bring each edge above its centre, form a T, and insert it left or right.
What should be done already
The white face must be fully solved: white cross and four white corners, with matching side colours on the bottom row of each side face. If that is not true, finish the first-layer guide first. Keep yellow on top and white on the bottom.
Find a middle-layer edge
Look in the top layer for an edge that has no yellow sticker. Read its two colours. Those colours tell you which two side centres it belongs between. For example, the blue-red edge belongs between the blue and red centres.
Form a T, then insert
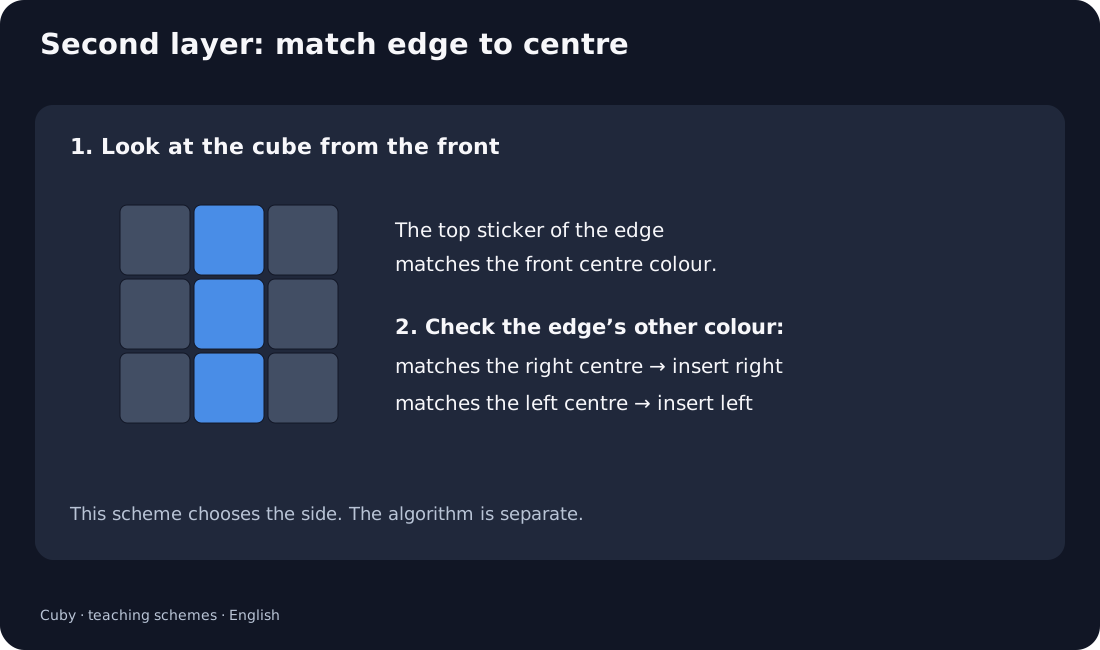
Turn U until the edge sits above the centre that matches the colour on its front sticker (the sticker facing you on the top front edge). You should see a T: the top edge colour lines up with the front centre, and the top sticker of that edge will go left or right.
- If the top sticker matches the right centre, insert to the right.
- If the top sticker matches the left centre, insert to the left.
U R U′ R′ U′ F′ U FEdge on top above the front centre, top sticker matches the right centre: inserts into the front-right middle slot.U′ L′ U L U F U′ F′Mirror case. Edge on top above the front centre, top sticker matches the left centre: inserts into the front-left middle slot.F′ U′ F U R U R′ U′Hold the cube with yellow on top (U), white on the bottom (D), blue in front (F), red on the right (R). Turn only the named layer — not the whole cube — unless the text says otherwise.
F U F′ U′ L′ U′ L UHold the cube with yellow on top (U), white on the bottom (D), blue in front (F), red on the right (R). Turn only the named layer — not the whole cube — unless the text says otherwise.
After each insertion, the first layer returns to solved. Turn the cube so the next empty middle slot is at the front, and repeat for the remaining edges.
Edge already in the middle, but wrong
If a middle slot already holds an edge that is flipped or belongs elsewhere, put that slot at the front-right and run the right-hand algorithm once. The wrong edge moves to the top layer; then insert the correct one as above.
Check the second layer
- The bottom face is still fully white.
- Each side face shows two full rows of its centre colour (bottom and middle); only the top row may still be mixed.
- No yellow stickers sit in the middle layer.
Common mistakes
- Inserting an edge that has yellow — leave yellow edges for the last layer.
- Skipping the T: if the front colours do not match, turn U before the algorithm.
- Using the right-hand sequence when the edge should go left.
- Stopping mid-algorithm when the first layer looks broken — finish the sequence.